Getting Started
This section provides a step-by-step guide to setting up and integrating ESPVoice into your Home Assistant instance. It is assumed that you already have a working Home Assistant installation. If you do not have Home Assistant set up, please visit Home Assistant website for more information.
First power on
When ESPVoice is first powered on, it will enter a Wake Word learning phase, followed by a Voice Command learning phase for Control 01.
A wake word is a specific phrase that prompts ESPVoice to wake up and listen for the user’s voice commands. Users will be instructed to speak the wake word two times in order to complete the wake word learning process.
After completing the wake word learning, ESPVoice will prompt for a voice command input for Control 01. Similarly user will be prompted to speak the voice command twice in order to complete the voice command learning process.
Congratulations! You have successfully completed the setup process for ESPVoice. You’re now ready to move on to the next step to integrate ESPVoice into your Home Assistant.
Connecting to Home Assistant
Prerequisite
ESPHome is required to be installed in your Home Assistant for ESPVoice to work correctly. Please make sure ESPHome is installed before hand.
Connect ESPVoice to a 5V Power Supply Unit using the provided USB-C cable.
ESPVoice will create a WIFI hotspot with the name “ESPVoice WIFI AP” if it cannot connect to any existing network. Seach and connect to “ESPVoice WIFI AP” via using any mobile devices/PC. The default password is espvoice

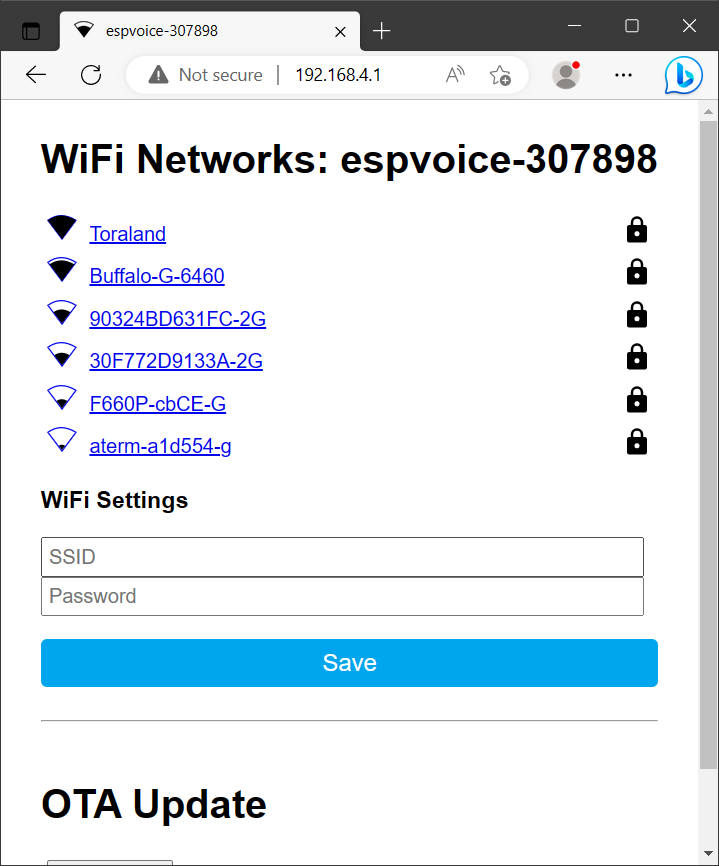
Once you are connected to ESPVoice’s wifi hotspot, you will be automatically directed to ESPVoice’s network connection page. If not, click the following link http://192.168.4.1 to launch the page. Select your home wifi network and key in the correct credentials.
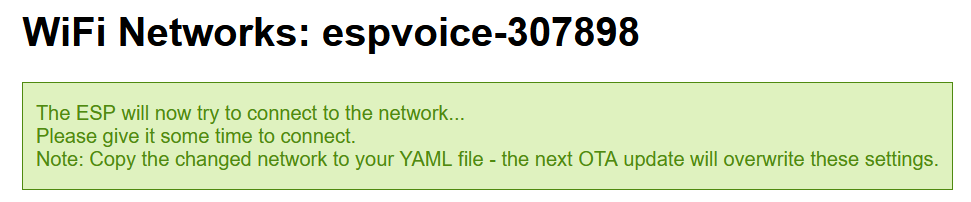
ESPVoice will attempt to join your wifi network.
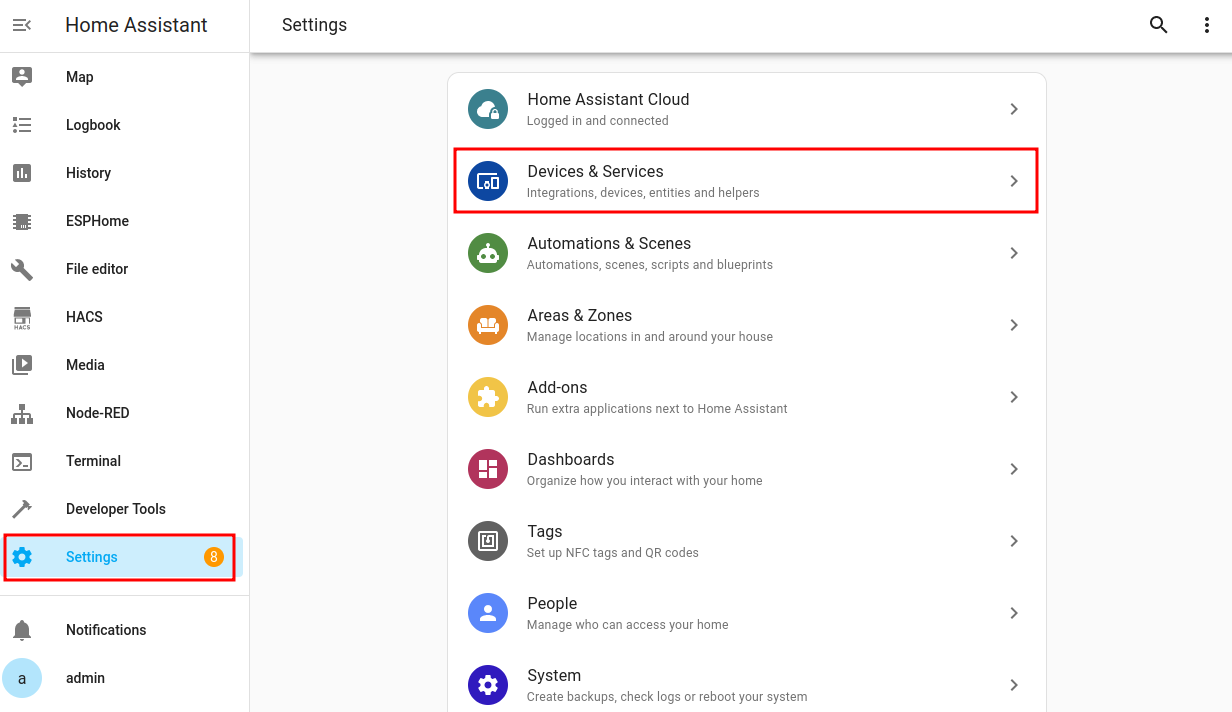
Reconnect to your home network. Go to your Home Assistant -> Settings -> Devices & Services
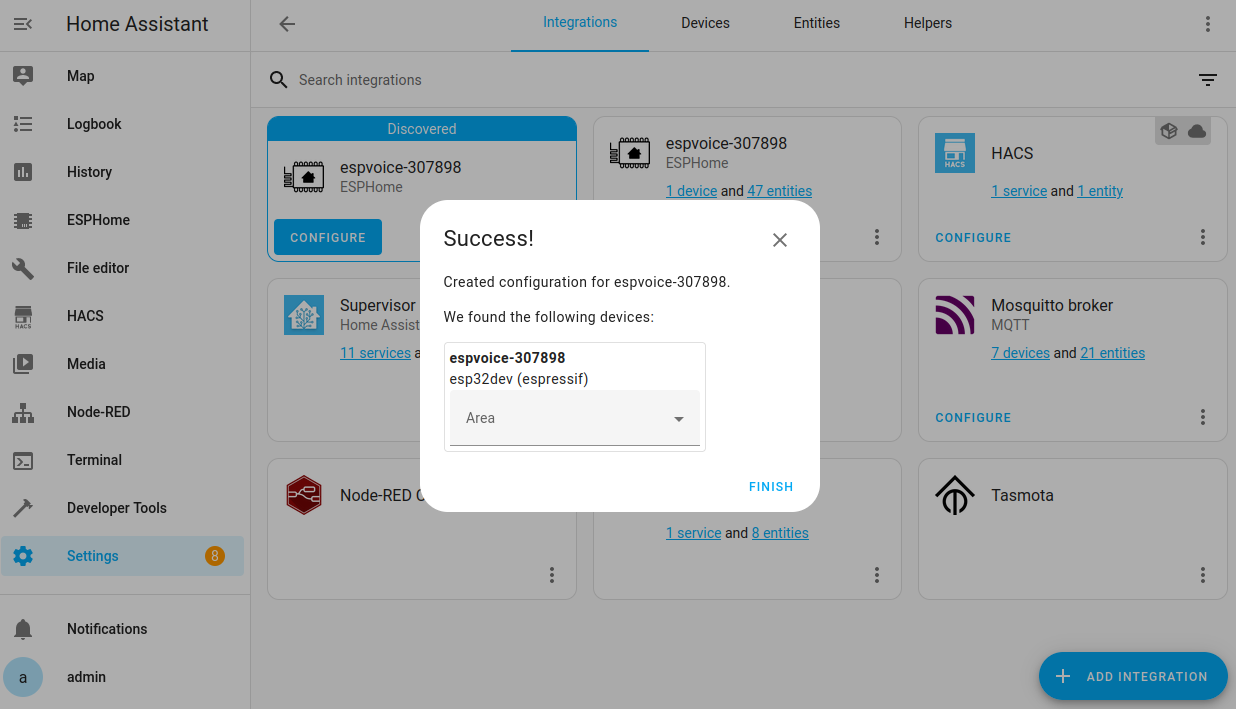
Home Assistant will automatically detects “ESPVoice-XXXXXX” as a new device. Click on “Configure” to add ESPVoice to your Home Assistant.
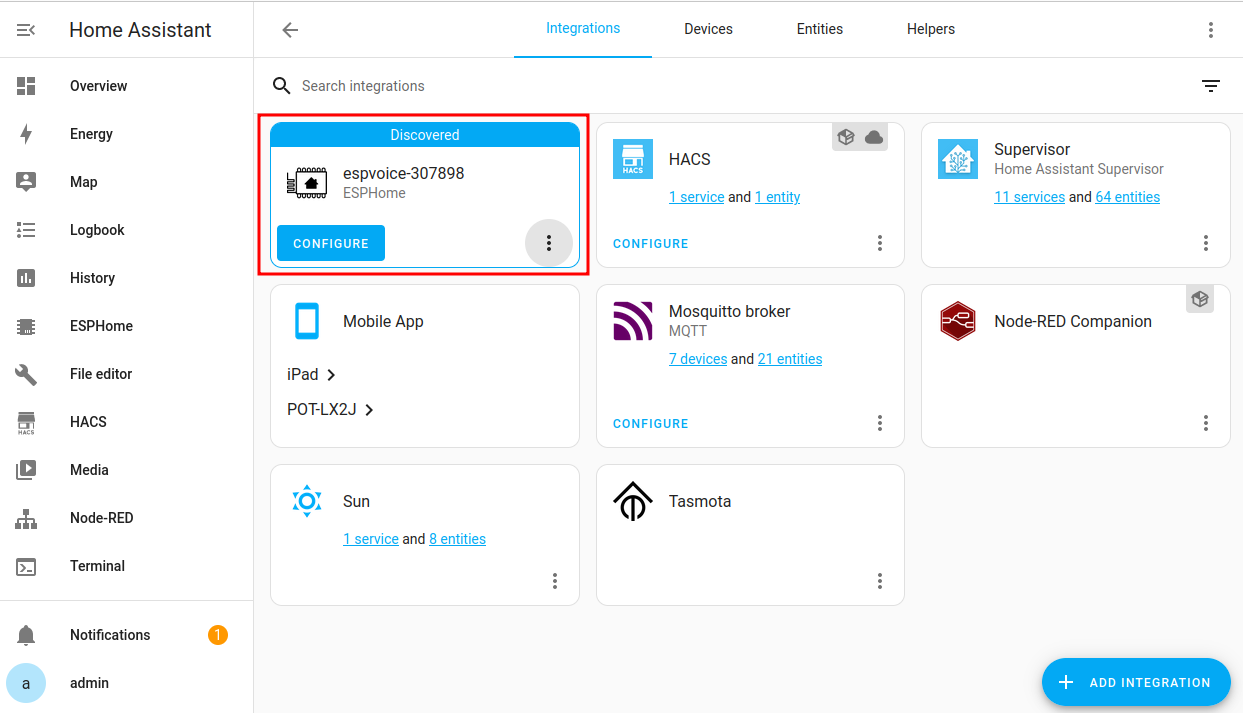
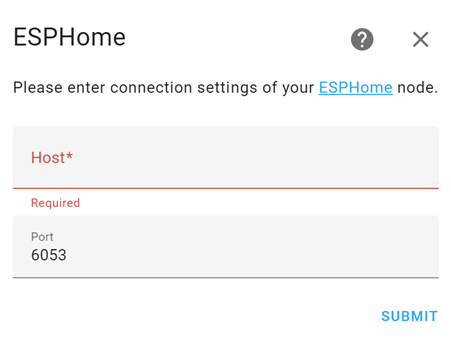
If no new device is detected, you may manually add it via “Add Integration” -> “ESPHome”-> enter the IP address of ESPVoice connected to your wifi network

Testing ESPVoice
To test whether you have successfully integrated ESPVoice into your Home Assistant:
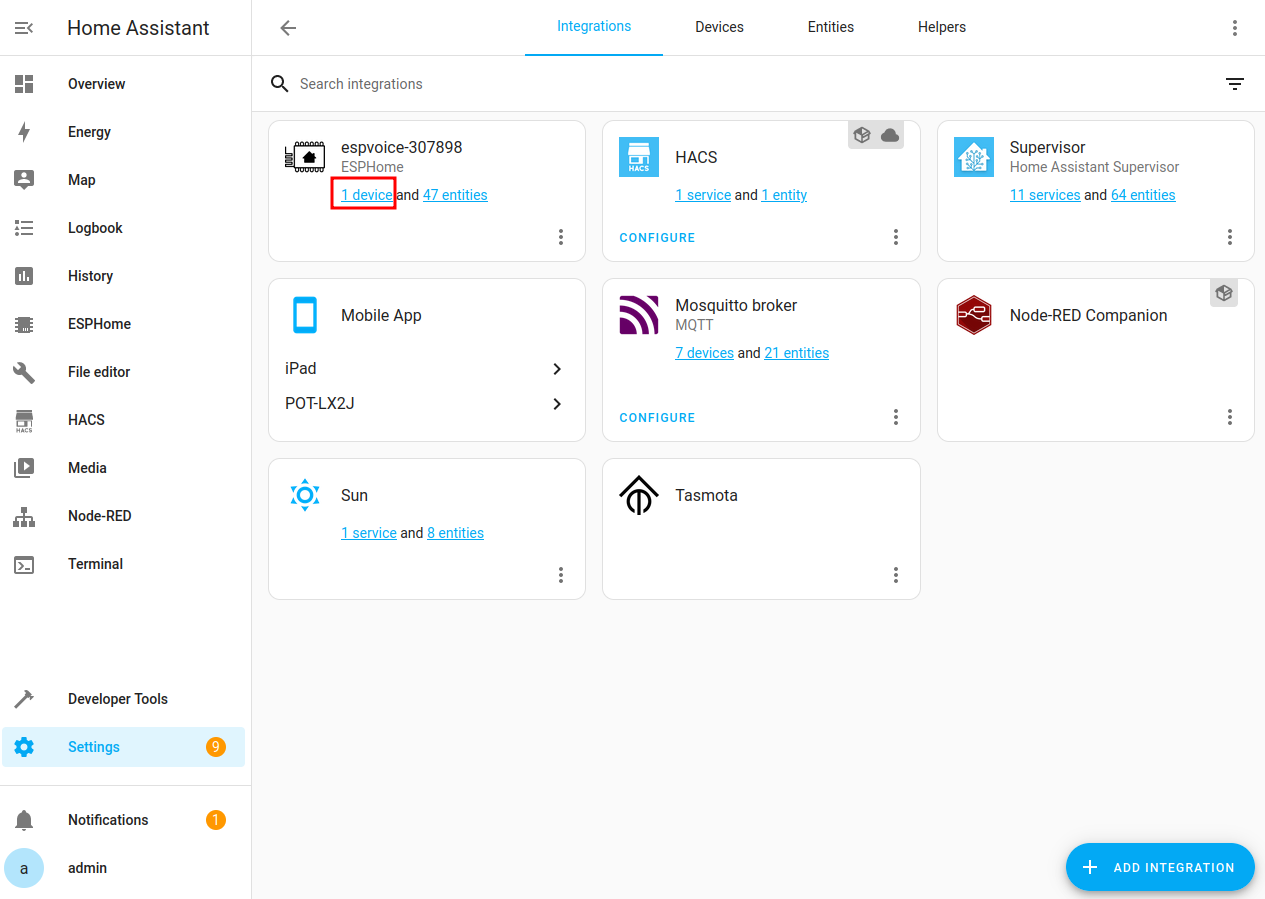
Go to your Home Assistant -> Settings -> Devices & Services and select the espvoice device.
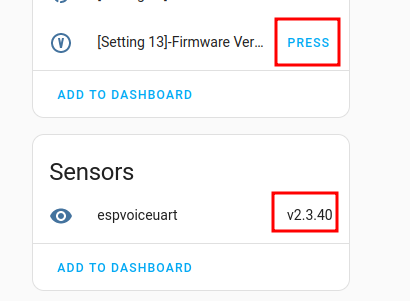
Locate “Firmware version” button at the bottom of the “Controls” buttons panel

Press “Firmware version” button and check the “Text Sensor” of ESPVoice for a valid firmware version, for example: v2.3.40.
See ESPVoice Firmware Versions for complete list of version info.
Creating your first voice activated automation
The following steps will guide you to create a dummy automation using espvoice. We are going to activate the prerecorded door bell PA in espvoice using voice control 01:
Go to Home Assistant -> Setings -> Automation & Scenes and press the “Create Automation” button. Select “Create new automation” on the pop up window

Press “Add trigger” and select “state”
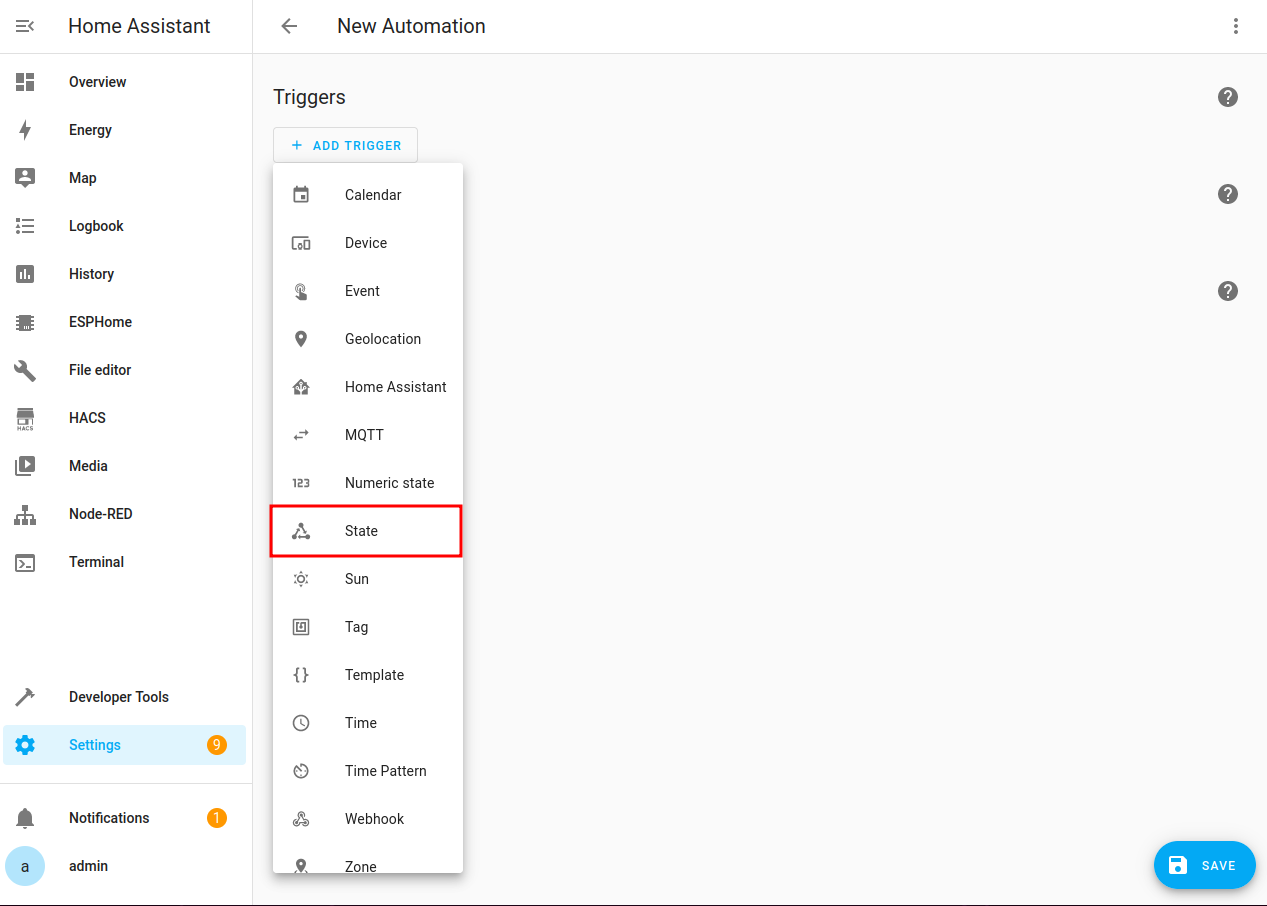
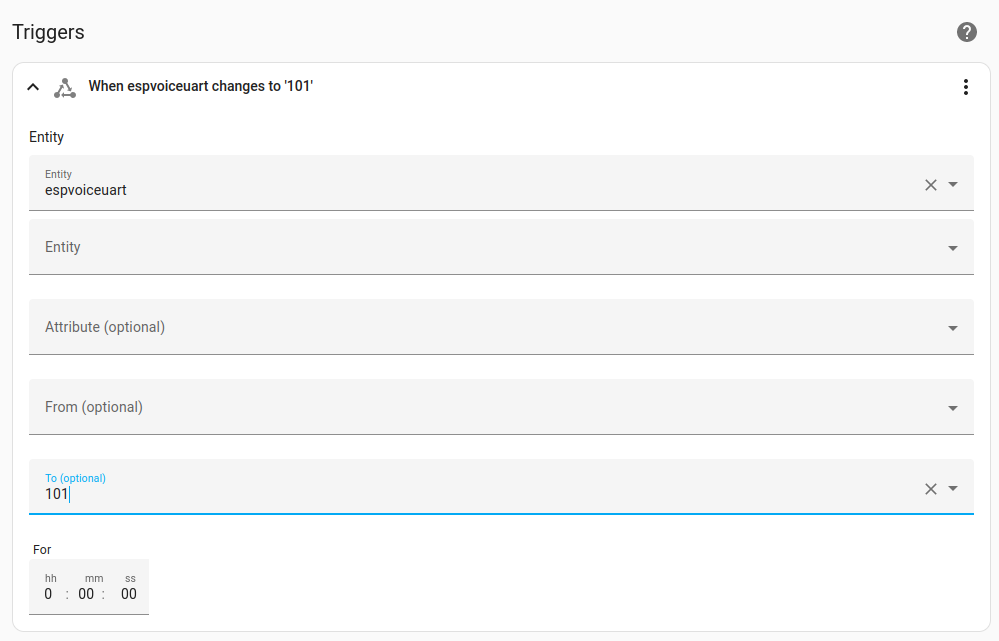
Select “espvoiceuart” as entity. Input “101” in the “To” input box. (See EspVoice control text output for complete list of output values )
- Press “Add action” and select “Call service”.Select “Button: Press” in service input box.Press “+ Choose entity” button and select “[PA 14]-Door Bell” as target.

Press “Save” and give it a name to create the automation.
Wake up ESPVoice with the wake word, and say the voice command. You should hear a door bell chime from ESPVoice speaker.
Congratulations! You have successfully created your first automation using ESPVoice command.